Tuesday, April 19, 2011

Mystery Exchange

For this month's challenge, we were each given a small, brown paper bag with a few items from another member. Our challenge was to use some or all of the items in a piece.


Linda Gardner: My items were Lutradur, green Mulberry bark, and a small spritzer of frosted, glittery spray. I decided to make a journal book cover. I could not think of how to use the Mulberry bark so I eliminated that. The background of the piece is from a photo printed on fabric. To enhance the iron gate, I satin stitched it with black thread, varying the stitch width. Two of the butterflies are made of Lutradur, sprayed with the glitzy spray. The third one is made from embroidered silk.


Joan Johnson: I was given a piece of organza that had been painted with Shiva Paintsticks. I am not sure if the shape is a giant comma, an embryo, tadpole or what but it was interesting. I scanned the painted organza, then printed it on cotton and some glittery organza. Using the original piece and the 2 new ones, I cut out some of the shapes because I like the negative black space around them. Some of the shapes at the edges of the fabric were incomplete. I used stitching to complete those shapes.

Marcia Kilpatrick: I received a handpieced, orphaned grandma's flower garden block, a delicate hanky, and a strip of decorative trim. I admit, I was stumped for a while. I folded the hanky then added the trim over one corner. I placed the block above those items and added a lot of beading. On point, the piece looks like a flower basket.

Melanie Johnston: I received colored bead wire and a handmade paper bead. The week before, I took a class with Christine Fries-Ureel and learned to make dimentional leaves, butterflies, bugs etc. I decided to incorporate the wire into a piece using the techniques I used in Christine's class. The butterfly, leaves and dragonflies are made using super solvy and free motion stitching. The flower is raw edge applique. The stem is yarn, sewn with a close zig zag back and front 3 times with 3 different threads. It makes a cool cord that can be used for a variety of things. I used the bead as a little bud. There is wire sticking out of the bead, from the main flower and as the butterfly antennae.

Cathey LaBonte: I received a piece of Asian style fabric in colors that I do not normally use. I painted the fans on the fabric with Jaquard Lumiere paints in earth tone metallics. I then cut the fabric into strips and added some batiks. I fused all the fabric to batting and did a lot of overstitching in a grid pattern. I used this "new fabric" to make a book cover for my journal. On the front, I used Jones Tones puffy paint to make a tree trunk and branches. After it dried, I painted it with browns and use some pearl-ex pigment to give it a little glitz. I added leaves made of Lutradur. Finally, I used a very cool button and a piece of ribbon to make a closure.

Tuesday, March 15, 2011

Leaves

Pat: For my new book, I added color to some of my Zentangle Quilts. This is an example.


Joan: Over the month, I had lots of ideas about what I wanted to make. I was thinking about stamping, taking photos etc, Then I found a quote that reminded me that what I want from this art quilt group is to be more free; less structured and concerned about "rules." I used the quote as my inspiration, printed it on fabric and added it to my piece. The background is a piece of screen printed home-dec fabric I got a few years ago. It was fun to "thread paint" over the blue/shadow trees. For the leaves, I manipulated photos in my photo editing software, changing the color with the"invert" option. I used the resulting colors to select batik fabrics. I fussy cut the leaves from the batiks using dye variations to show the shading evident in the photograph. I then thread painted the leaf veins.

I have also been making little bags out of fabric I created by putting strips of fabric  together then "thread painting" over them to integrate them.
Linda: I used a combination of purchased silk leaves and embroidery. The background is made from leftovers from an charity quilt. The piece is quilted with metallics. I thought with all those leaves, there should be a branch or two but could not quite make that work. In the end, I added brown borders on 2 sides to represent the tree from which the leaves are falling.
Cathey: I thought this project would be a great opportunity to used several different techniques for the same leaf shape. I made a freezer paper leaf stencil then used several techniques. The first leaf is "foiled." The foil glue was put down using the stencil, then the foil applied over it. The next leaf is made with Lutradur colored with Shiva paintsticks cut into the shape and appliqued onto the fabric. The 3rd leaf was made using 2 layers of "puffy paint." When dry and puffed, I painted it with green Jaquard luminere paint. The next leaf was thread painted and the last leaf was made from Angelina fibers.When I fused the green Angelina fibers to the fusible web, it turned blue! So I had to overpaint it to bring it back to nature.


Melanie: I had ideas for 3 or 4 pieces but ended up scrambling to finish 1 piece but managed to get 3 techniques in it. As Cathey did, I used Lutradur to make leaves. The stuff is lots of fun to work with and takes color very well. I colored the Lutradur, then put it through the printer to print the leaves. The leaves were then cut out and appliqued to the piece with variegated thread to create the veins. On another section of the piece, I used a piece of leaf sunprinted fabric that I made last summer. The lower section is leaves printed on sparkly organza over celery green satin. I added some tree silhouettes because with all those leaves......
Hope: I like my pieces to tell a story. For this challenge I was inspired by a Desert Rose plant I bought a Logee's last year. It was doing well when, by mistake, I fertilized it. Desert Roses do not like to be fertilized. It dropped all its leaves and looked quite pathetic. I was so sad but decided to see if I could nurse it back to health. All winter I took special care of it and a few days ago, a single leaf appeared! That leaf made me very happy and I decided to memorialize it on this quilt.

Marcia: After chickens, plants are my next favorite things. The leaf theme fit right in. When I started to think about this project, I doodled around a little with "leaves." That lead to the small quilt with leaf shapes quilted into it and the letters of the word "leaves" embroidered and beaded in different configurations.  I then used Sue Pelland's "leaves galore" ruler/template to create the larger, White Ash leaf piece. You might think it is many leaves but it is one single leaf called a compound leaf with leaflets on a stalk. I used beads (of course) for the leaf veins and found some great leaf fabric for the border.  If I had time, I would make one of these for all the tree species I know and love!

Tuesday, February 15, 2011

Pets/Animals

Our theme this month was Pets, Animals or Other Creatures.

Green Mamba: Hope Barton
When this topic was "picked out of the hat" I was a little cranky. I had a couple of techniques in mind that I wanted to try but was not sure they would fit the challenge. In the end I was able to use the techniques and include a creature - a snake!  I used the quilted/painted canvas technique that Melanie used on her Vegetable soup piece. I really liked that technique. I used a yellowy - creamy fabric, quilted it, then used a foam brush to paint it with brown acrylic paint mixed with a little fabric medium. I tried yellow and blue paint before settling on the brown. The leaves and snake are "dimentional" and applied to the painted canvas by hand stitching/tacking. Not easy to do on a heavily quilted and painted base! The leaves were inspired by Dianne Hire; the snake is a deadly green mamba.Green mambas like to hide in the African forests.
Boots: Joan Johnson
Bootsie is my cat. I have been exploring interpreting portraits in fabric. For this project, I started with a photo, then used a couple of great free photo programs to manipulate the image. I experimented with pixlr and fotoflexer. After a lot of playing around, I used "posterize" to simplify the image. This made it easier to interpret in fabric. I used mostly fabric along with a bit of white paint for the eye highlights and a gray fabric marker for some enhanced shadows. When I told my sister about the project, she asked if I was going to be able to capture the "craziness" in Bootsie's eyes. What do you think?
Colorful Rooster: Melanie Johnston
In my town there are lots of chickens and roosters. Some of the roosters are amazingly beautiful and colorful. I am always looking for opportunities to use my hand dyed fabric and thought a rooster would be a good subject. I found a small black and white block print, enlarged it and used it as the template for the piece. The only commercial fabrics used are on his eye and legs. I used scraps to piece a colorful, coordinating binding. The background has 4 different black fabrics pieced, then quilted with a feather motif and grid.


Froggy: Melanie Johnston
My husband suggested I do a frog so I did a second piece. I used a silhouette of a tree frog in a green froggy looking fabric. I used an orange hand dyed fabric for the background to make him really stand out. I used echo quilting to give him some movement. Under him I added a graphic element of some stamps with green fabric ink on a scrap of fabric I had.
Rufus: Cathy LaBonte
My piece is a memorial to Rufus James LaBonte, my one and only dog. He was a wonderful black lab. I started with a photo of Rufus and used photo editing software to achieve a watercolor effect. I think printed the photo on fabric and used watercolor pencils and a spritz of water to enhance the watercolor quality. I then appliqued Rufus to the background fabric, quilted and added some beading. My husband felt compelled to point out that Rufus was off center on the quilt. I told him that was for "artistic effect." The quilt group agrees with me.

Chicken Gazebo:  Marcia Kilpatrick
By now, everyone knows that chickens are one of my passions.Last summer my husband made a gazebo for me and the chickens. I can let them loose in the gazebo, which is enclosed with chicken wire, and enjoy them in there with me while I read a book etc. With this long, snowy winter, both the chickens and I long for spring when we can be back in the gazebo together. My quilt shows the chickens in their coop, longing for gazebo weather. I used hardware cloth for the coop door and onion bag for the gazebo. The snow on the coop roof is batting and the snowflakes are individually cut out of snow fabric - a la broderie perse.Instead of "quilting" the piece is "tied" using embroidery floss in a snowflake motif.


Chickens, Chickens, Chickens: Marcia Kilpatrick
I have a lot of chicken fabric. A really lot!! This was a project to use some of it up. This piece is multi-layered. I quilted through all the layers with a metallic thread. This gave the central chicken a lot of dimension and texture. The chicken is a printed fabric. Naturally I had ample chicken fabric for the borders, binding etc., etc.


 Chickens in Summer: Marcia Kilpatrick
This is another multi-layer piece. I used green terrycloth for summer grass, and a brown fabric for the dirt where they peck, scratch and play. I used "big stitch" quilting with embroidery floss to represent "chicken scratch" and added various buttons and chicken buttons that I had.

Tuesday, January 11, 2011

Vegetable Soup

Our theme for January was "Vegetable Soup."

Happy Vegetables: Hope Barton
Last month my word for my efforts was "persistence" because I had so many false starts and do-overs. This month I am happy to say that my word is "fun!" I had fun with this project and I think the vegetables enjoyed it too (as evidenced by the smiles on their faces).


Three Carrots: Cathey LaBonte
I started with a design that had the vegetables running for their lives from the chopping block but my husband said it was too ghoulish. In this piece, my carrots are peaceful and elegant - being made from dupioni silk and all.....
Bowl of Soup: Marcia Kilpatrick
My biggest challenge was how to make the soup bowl. My husband says it looks like a basket. He also siad there should be a spoon. Whatever. The "vegetables" are confetti scraps, covered with tulle to hold them in place. I loved being able to use vegetable fabric I had for the backing and binding, and the peas for an accent border.

Felted Cup of Soup: Linda Gardner
I made my "soup" from felted wool. The blue and purple worked well to make a purple cabbage but when I did not have any orange wool, I had to use red for the carrots. I told the group they were "blood carrots." I thought I had made that up but they all told me that there are indeed, red carrots. The veggies in the soup are "confetti" cut pieces, held in place with tulle. I think I will use this piece as a hotpad.

Campbell's Ummm, Ummm Good: Melanie Johnston
I am often inspired by Quilting Art Magazine, The December 2010/January 2011 issue had some great techniques I just had to try. I combined 2 in this piece. First I closely quilted a neutral fabric with a small print. Next, I used a small, foam roller to lightly paint the surface with white, opaque, fabric paint.(QA mag page 58).  The images were then transferred on to the "canvas" using Dritz wash away foundation paper and fabric medium. (QA Magazine page 46). I really had fun with these techniques and will use them again.

Tuesday, December 14, 2010

Christmas Card

Our theme this month is a Christmas Card.

Bethlehem Star: Hope Barton
I think I get credit for persistence. This was my third try. First, I stitched the town with a silvery thread on a blue print fabric but it was too busy. Next I stitched it in white on a blue batik but I forgot to reverse the penciled guide so it was backwards. Finally on the 3rd try, I got it right. I used fusible interfacing on the blue fabric, then penciled in the town and star. I stitched the scene from the back so I could follow the penciled drawing. I used Peltex interfacing to make the card stiff.


Poinsettia: Cathy LaBonte
I appliqued the flower's petals, then did some thread painting, and added hot fix crystals.


Christmas Ball, and Our Lady of Guadeloupe: Joan Johnson
I waited til the last minute but then I made my cards in one day. For the Christmas Ball, I used paper that I made a while back. The paper looks like "light." The ball is made from fabric with Christmas words on it. I used gold fabric for the "collar" on the ball, then appliqued the red ribbon. The pine is a combination of stitching and pen work.


This past weekend I went to a service in Spanish honoring Our Lady of Guadeloupe. It was wonderful! Today I received a Christmas card in the mail and although it is not a picture of Our Lady of Guadeloupe, the card and event inspired me to make this "Old World" card. I color photocopied the card onto fabric and cut it into 2 pieces because I think in some respects, Christmas has become fragmented. The ruffle with the colored yarn flowers was something I had and it represents the colorful Spanish ceremony.On the inside of the card I used a quote from the service and some embroidered fabric I had that I though evoked stained glass.


Dove of Peace: Linda Gardner
I made 2 of these. The first one came out a little small so I enlarged it and made a second one. The dove is trapunto and the words are machine embroidered.The edges of the cards are satin stitched.


Santa: Marcia Kilpatrick
I was not sure how to go about making a card. I found these 2 Santa panels and decided to embellish them for my card. I used white pearls to represent snow, silver beads for ice, star sequins, tiny colored, metal letters I got in a yard sale, and other beads. My husband thinks I am crazy but I love to bead and embellish.


Christmas Balls, Snowmen, Tree with Gifts, and Star of Wonder: Melanie Johnston
The Christmas Balls are penned with jelly roll glitter pens. The background is blackened using a sharpie, then the piece is quilted with gold thread. Lastly, I applied hot fix crystals to enhance the balls. It does not open so is more like a postcard.


For the snowmen card, I used colored pencil. I was going for an old fashioned look. I wanted to try the new Smootch spritz pearly spray I just bought.  I used the Vanilla Ice on the card. Love the spray! What fun! Gives a nice all over subtle glitter. Perfect for "snow."


In the Blue Star card, I used blue satin, blue Ultrasuede, plain white tulle, and white tulle with snowflakes on it. The silver cording is supposed to represent a tree with a star crystal on top.


The tree with gifts was an experiment using Glaze pens. Supposedly they are best used on non porous surfaces. I coated the fabric with Golden Digital Ground to make it non porous. The glaze pens are fun to use. The ink flows from the pens and sets us with a nice glaze.The tree is green silk. The gifts are made with the glaze pens.

Tuesday, November 9, 2010

Quilt in a Ball

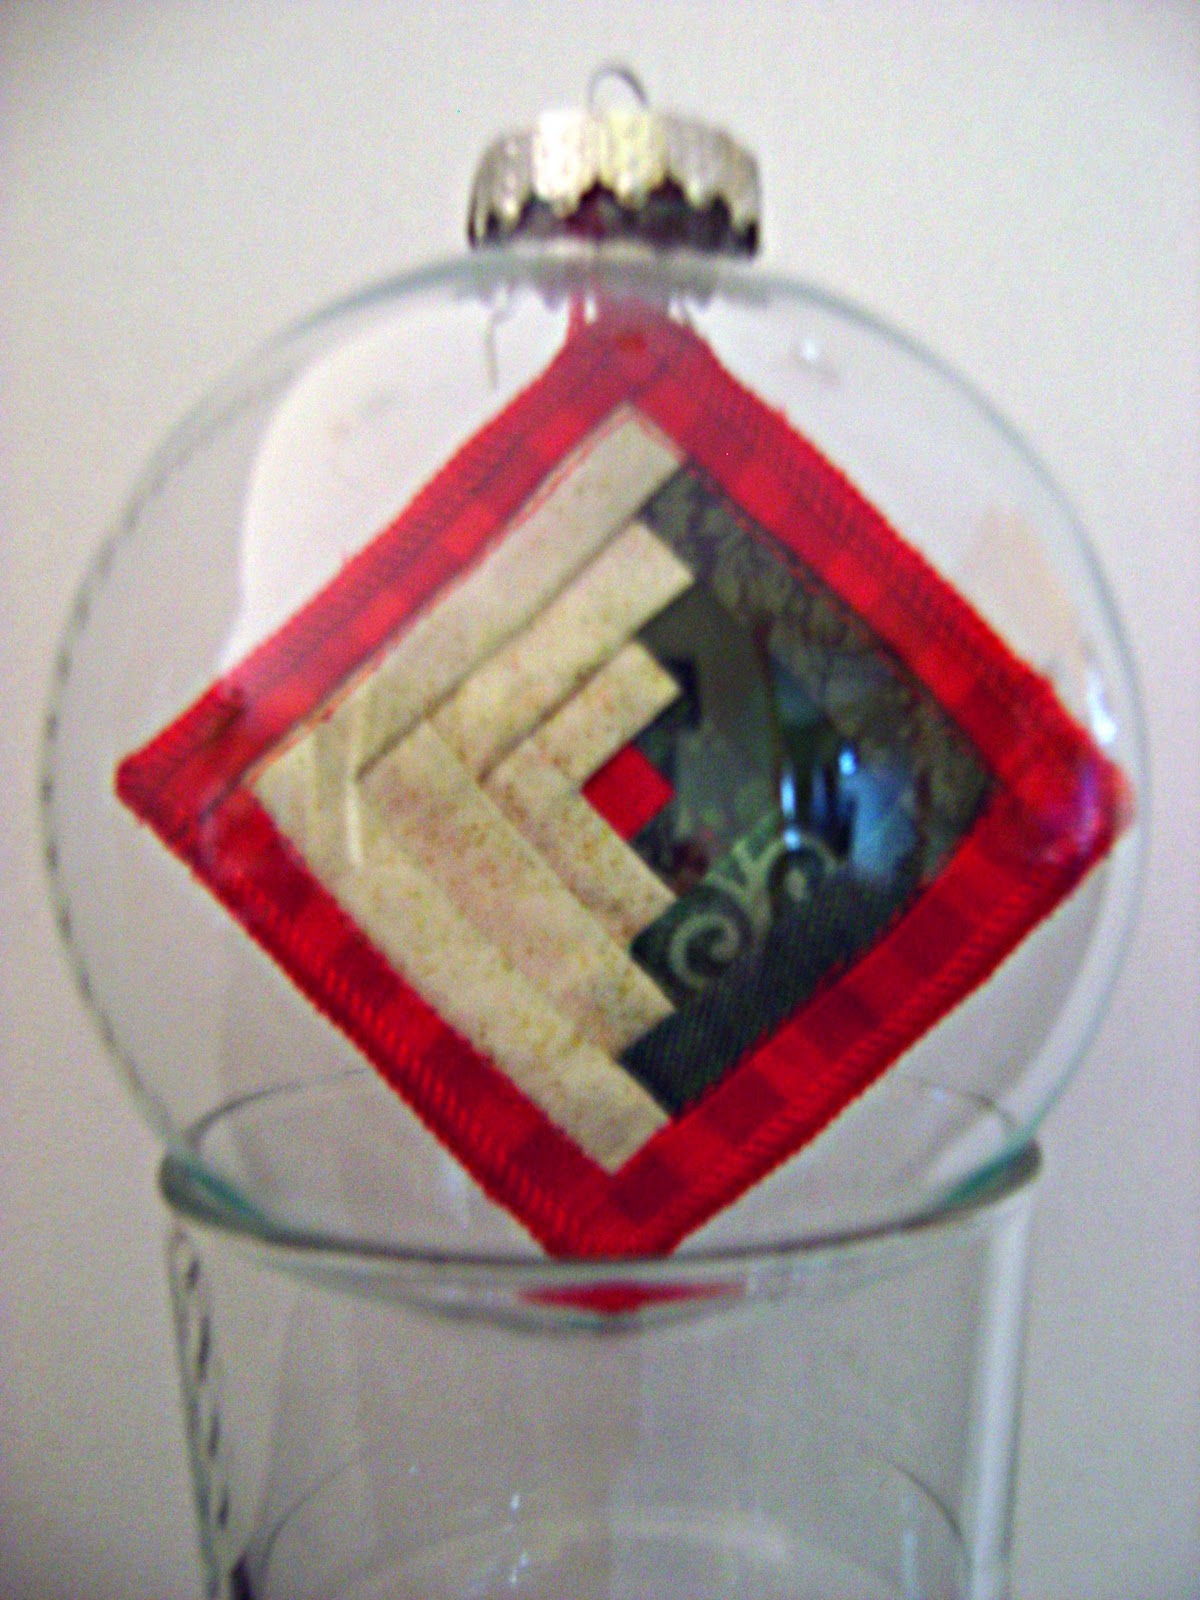
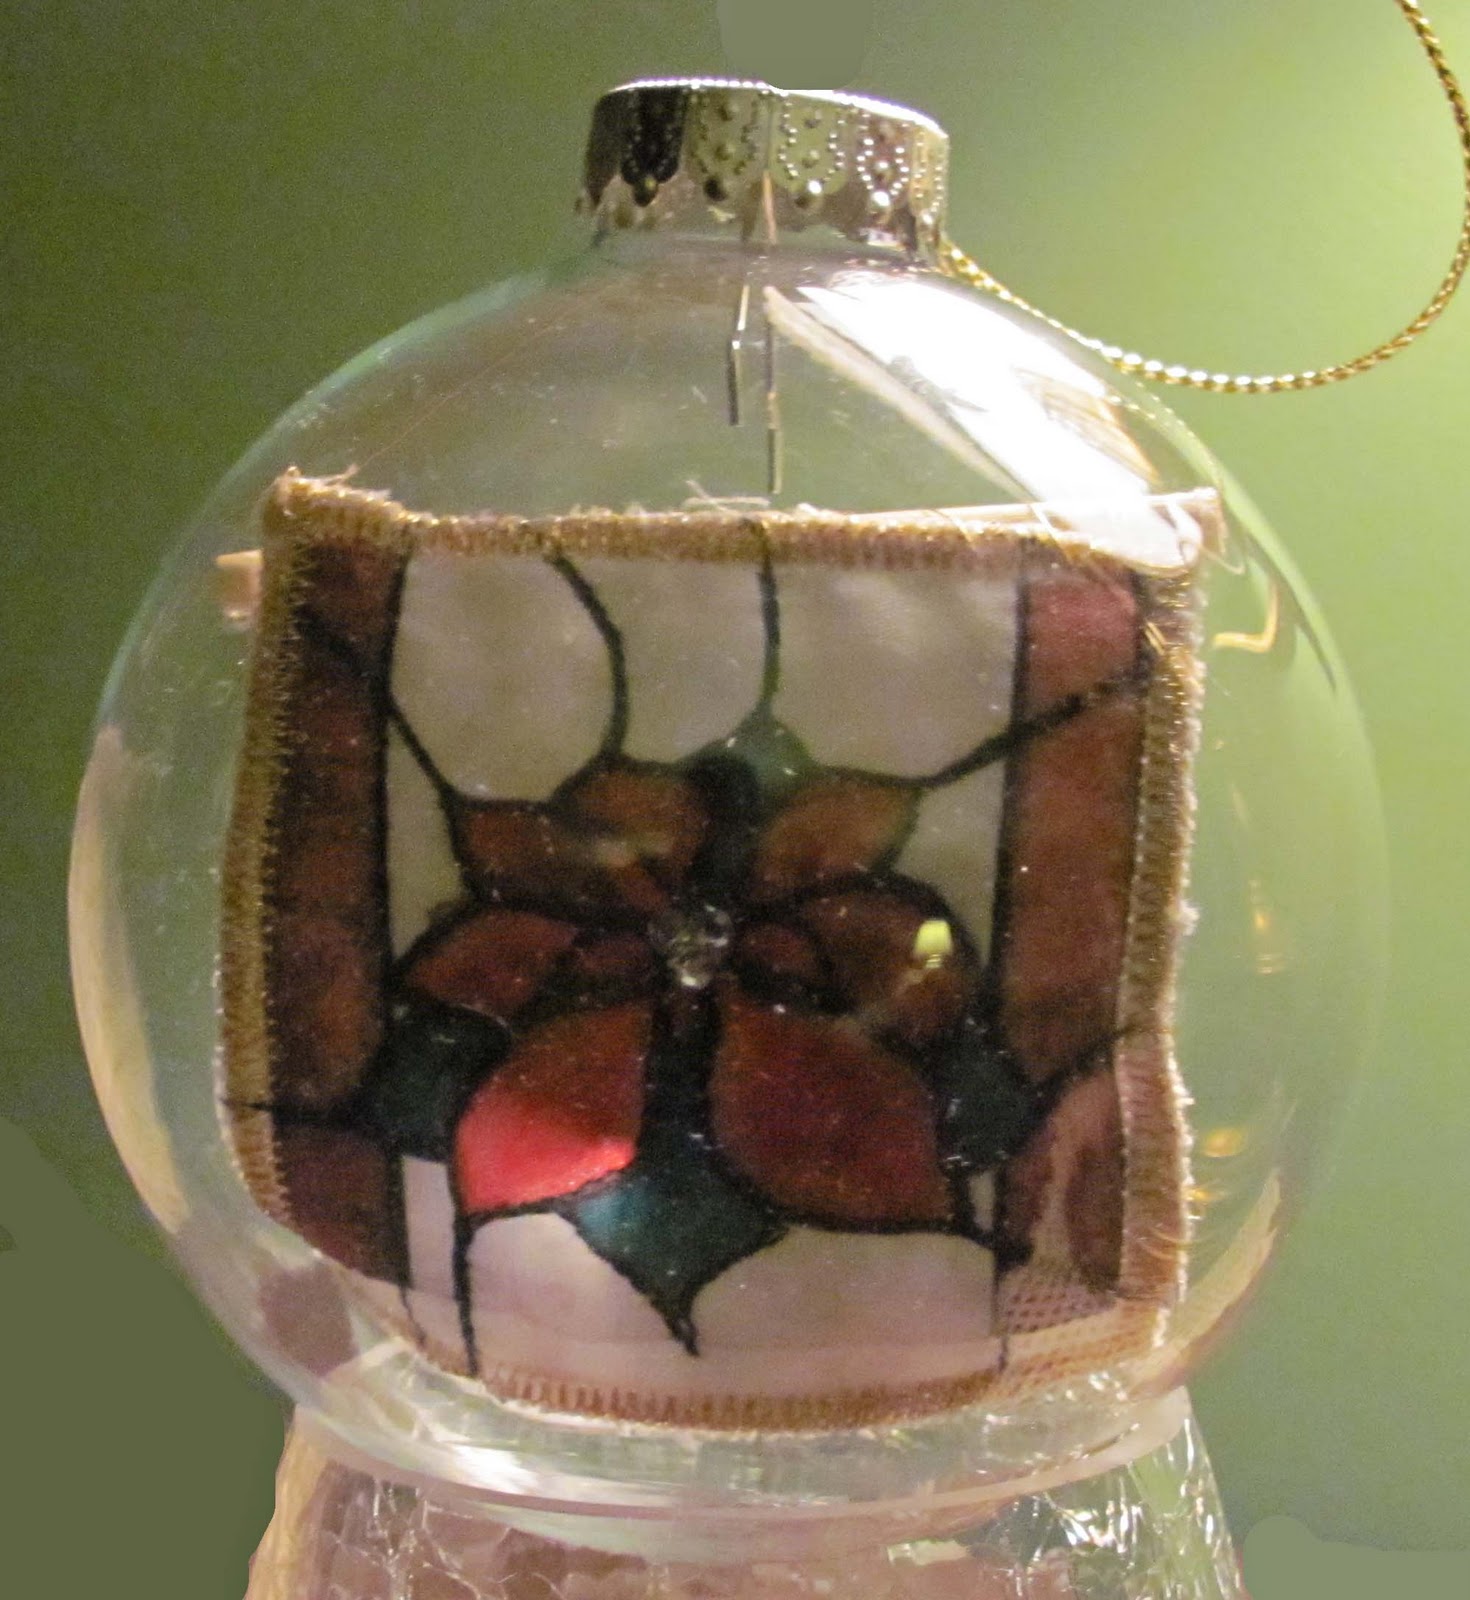
For this month's challenge, Hope suggested we put a quilt inside a glass Christmas ball. We were all a bit skeptical but the results were a lot of fun and it was surprising to see the different interpretations.

Paper Pieced Log Cabin and Tree: Joan Johnson
I immediately thought of paper piecing. I left the paper in to help it hold shape after being squeezed into the bottle.


Stars and Hearts: Marcia Kilpatrick
I pretty much did all of mine by hand. I made a simple 4 patch, then hand sewed little star and heart buttons all around the edge to create and finish the "binding." I added some beads on the quilt itself to enhance the pattern.

Angelina Postage Stamp: Hope Barton
I made a multi-colored batik "postage stamp" style square. I used lots of starch to help it hold shape inside the ball. A set of long tweezers were especially helpful in straightening it out once I squeezed it inside the ball. I added some Angelina fiber on the bottom to give it a little glitz.
Double Sided with Crystals: Melanie Johnston
My intent was to use paper piecing but when time started to run short, I decided to print out quilt squares on fabric and enhance the coloring with markers. I quilted each side separately on very thin batting, then put the two together and zig-zagged the edge with gold thread. I added a few hot fix crystals in the center of the poinsettia and on the star tips for pizzazz.


Beaded "Quilt"  Pat Ferguson
I don't do miniatures. Instead, I used some letter beads with other beads and used them to spell "quilt." I scattered some more beads, bits of quilt scraps, and some crystal beads from my mother-in-laws crystal necklace on the bottom of the ball.

Silk Snowflake: Cathey LaBonte
I used silk dupioni as my base, then stamped a snowflake with iridescent paint. I quilted it all with holographic thread, then zig-zagged the edge/"binding" with heavy, glittery thread used in the bobbin. Next time, I will remember not to cut the quilt "to size" until after I quilt it!

Tree-in-a-Bottle: Linda Gardner
I decided to make a 3-dimentional "quilt." I made a wedge, quilted it, and decorated it with hot fix crystals, then fused the edges to create the cone shaped tree. The challenge was how to get it to pop back into a tree shaped after being squeezed inside the bottle. I had some fishing line that was stiff and had "shape memory." I knew it would want to go back to its original shape after being squeezed. I "laced" the bottom of the tree with the clear fisihing line and it worked just as I had hoped! I added some polyfill in thebottom to simulate snow and a few beads for extra glitz.